Overview
Query screen is a place in the administration portal from where the user can issue SQL statements to Lyftron and view execution results. Query screen can be accessed by selecting "QUERY" from the main menu.
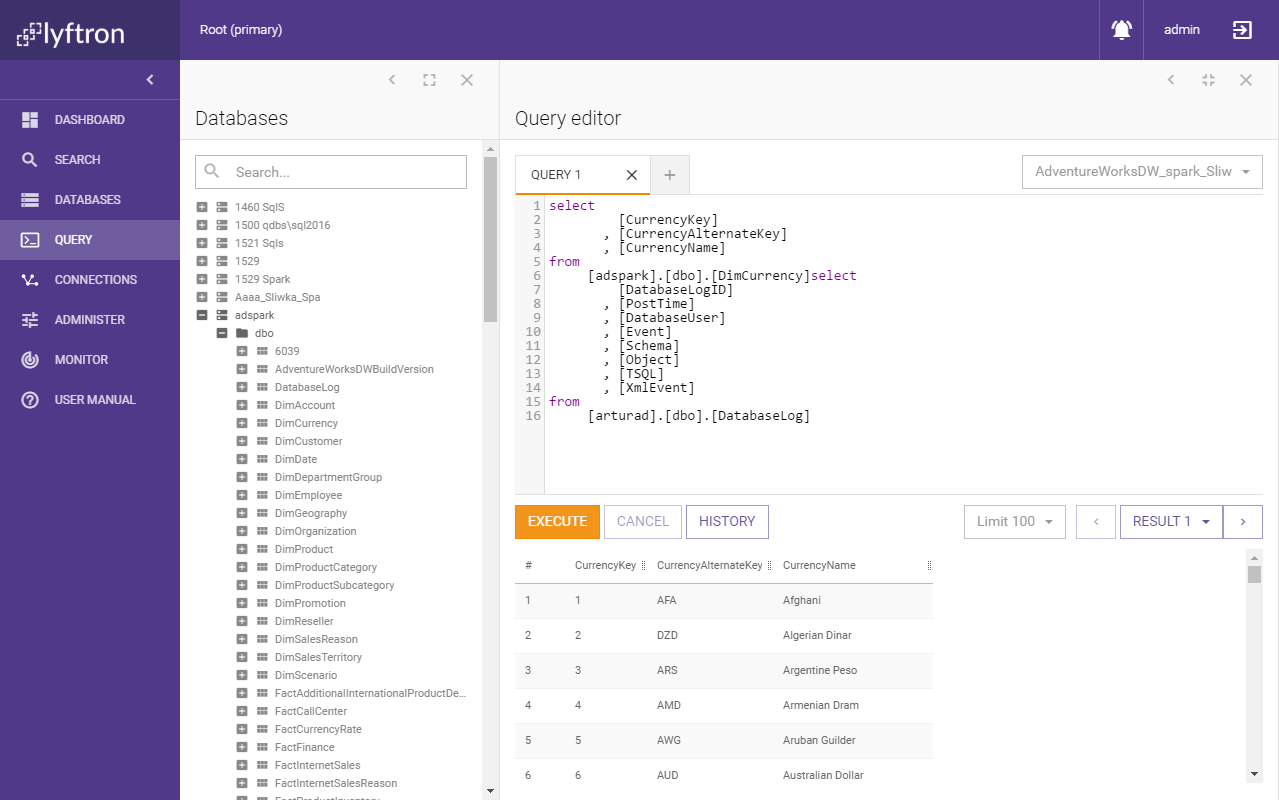
Query screen is composed of two parts. On the left, there is a tree with available databases, schemas and tables/views. On the right, there is the main window with query editor.
Databases
Database list contains a list of available databases. Each database can be expanded (by clicking on "+" button next to database name and icon) to see it's schemas. Schemas also can be expanded even more see the list of tables and views. Expanding table or view will bring a list of its column with their respective type.
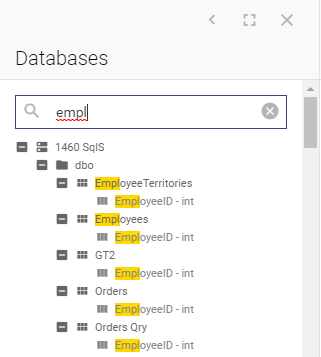
Above database list is search input that can be used to find every element that contains typed the phrase in its name.
NOTE: search starts automatically when at least 3 letters have been typed.
Drag & drop
Tables, views, and column can be dragged from the list and dropped in three different places:
- Query editor - adds in place of cursor in the editor
- Query editor tab - replace query editor contents
- "+" button that adds new tab - add a new tab filled with dropped content
The result of drag & dropping a column is just a column name. After dropping a table or view, instead of just pasting its name, the user can select one of four templates from the modal window that shows up.
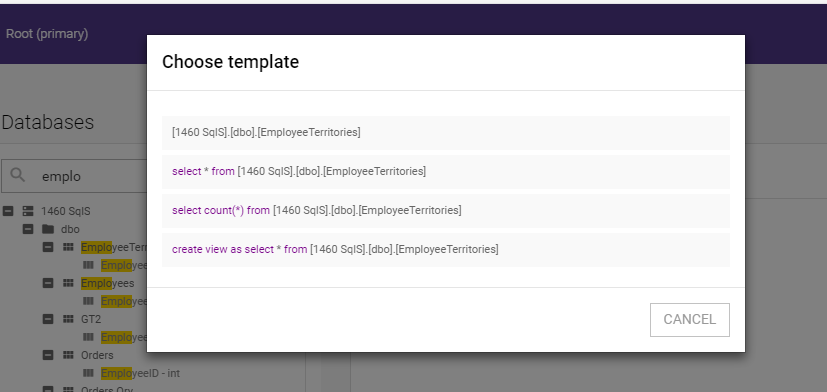
- A first template is just a full name of the table or the view
- The second template generates a select statement for selected table with "*" replaced by actual columns
- The third template generates statement that returns rows count
- The last, fourth template generate a statement that creates a view based on the selected table or view
On the bottom of the modal window is a "CANCEL" button that will close the template selector without doing anything.
Query editor
The Central position of query screen is occupied by query editor.
An editor can have many tabs, where each tab has its own separate connection which is closed after closing the corresponding tab.
New tabs can be added by clicking "+" button next to tabs list.
In the top right corner of query editor, there is a combo box that allows selecting the default database on which statements will be executed.
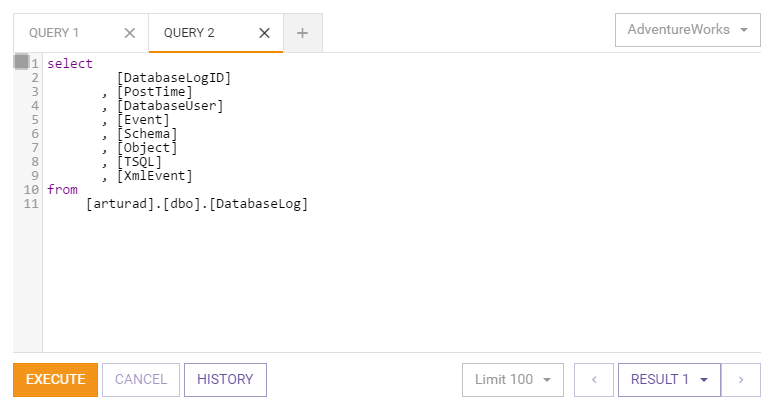
Query editor has syntax highlighting and line numbers. The size of the editor can be changed by dragging its bottom border.
There are three buttons below the editor:
- EXECUTE - executes statement from the currently opened tab.
- CANCEL - cancels execution of statements
- HISTORY - brings a list of recently executed statements
On the right side of buttons, there are two combo boxes. First one tells how many rows will be displayed in the results table. The second combo box allows the user to change results if there is more than one result returned by executed statement. The same combo box allows seeing messages instead of results. Messages will also be the default choice when statement didn't return any data.
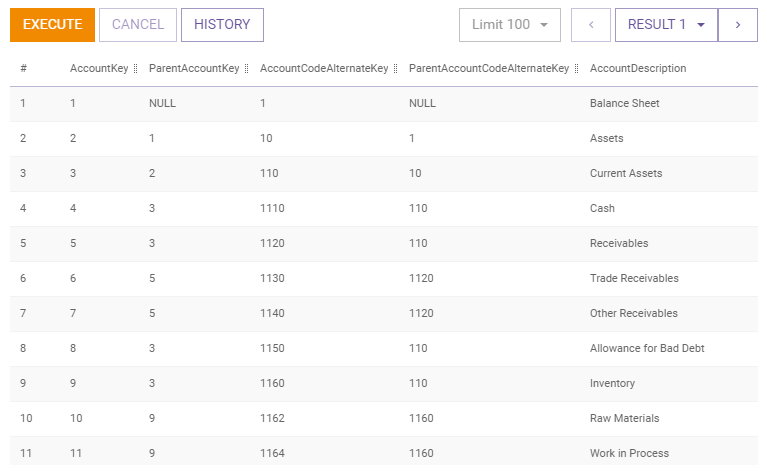
Results
Below the query editor, there is the place where results of statements, messages or history are displayed. A number of rows to display can be controlled by "Limit" combo box. Available options are: 10, 10 and 1000. If a statement didn't return any result, returned messages will be displayed instead.
Each column in result table has anchors next to column name that allows resizing columns. The only exception is the first column which is an ordinal number.
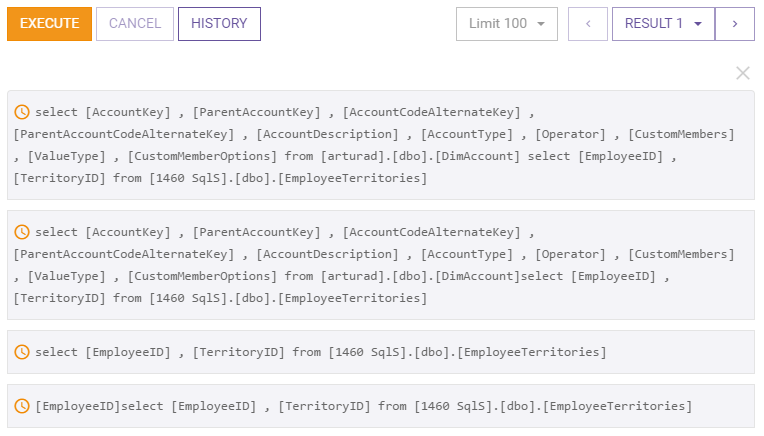
Clicking on "HISTORY" button will change the results/messages list with statement history list, which contains past statement executed by the user, no matter if they succeeded or failed. Any statement from the list can be easily pasted into query tab by clicking on it. History list can be closed by clicking on "X" in the top right corner or clicking again on "HISTORY" button.