Connecting Excel to Lyftron
In this article, we will show you how to connect Excel to Lyftron.
NOTE: Lyftron emulates Microsoft SQL Server, therefore a built-in SQL Server provider is sufficient to connect to Lyftron.
Excel documentation is available in Microsoft online help.
Step 1: Open Excel and select SQL Server as data source
If you have not started the Excel yet, open it. Under the "Data" section, select the "From Other Sources" and choose From SQL Server option.
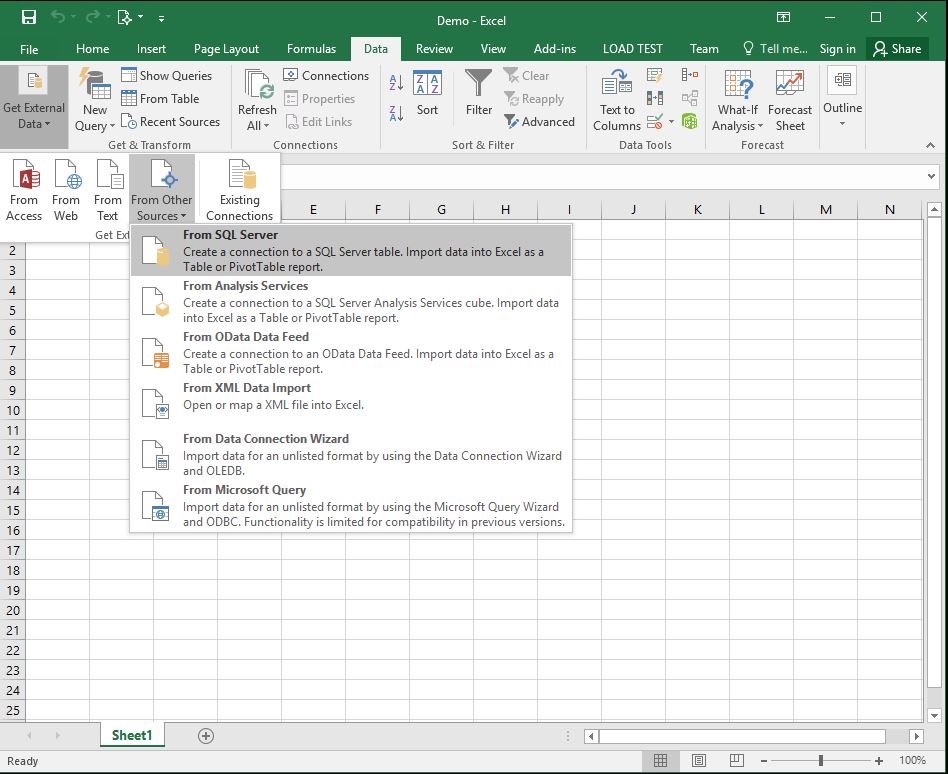
A new dialog opens.
Step 2: Enter server name taken from Lyftron Dashboard
Into a "Server name" textbox enter the Lyftron server name taken from Lyftron Dashboard. Choose appropriate Log on credentials.
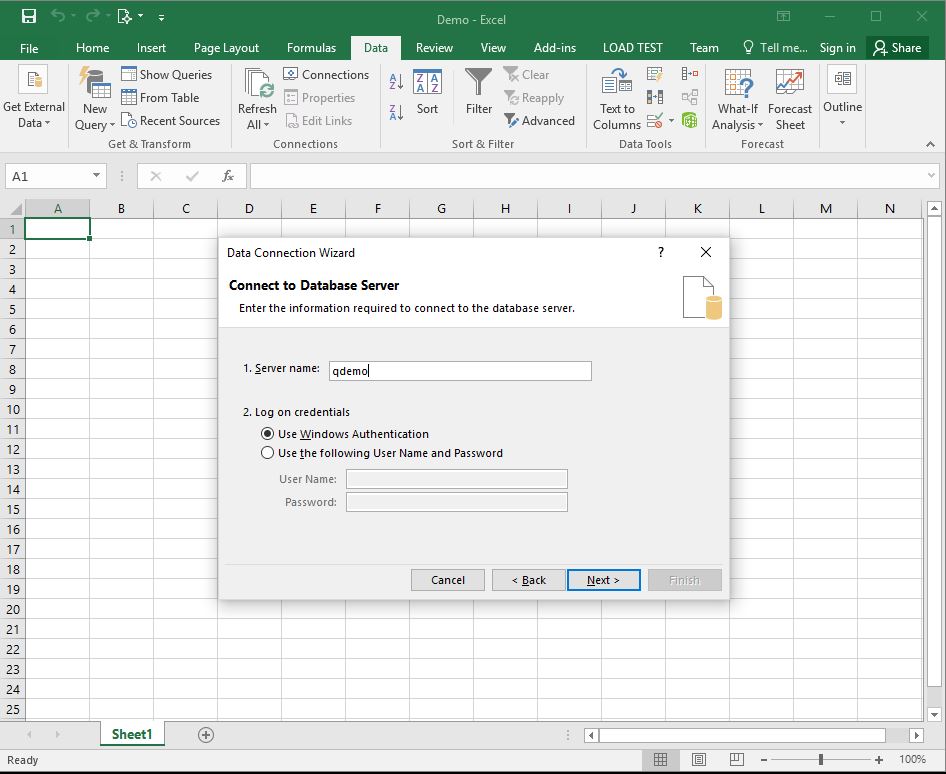
Click "Next."
Step 3: Choose a database and desired tables or views
Choose a database and desired tables or views to import. To select multiple tables, check the "Enable selection of multiple tables" option.
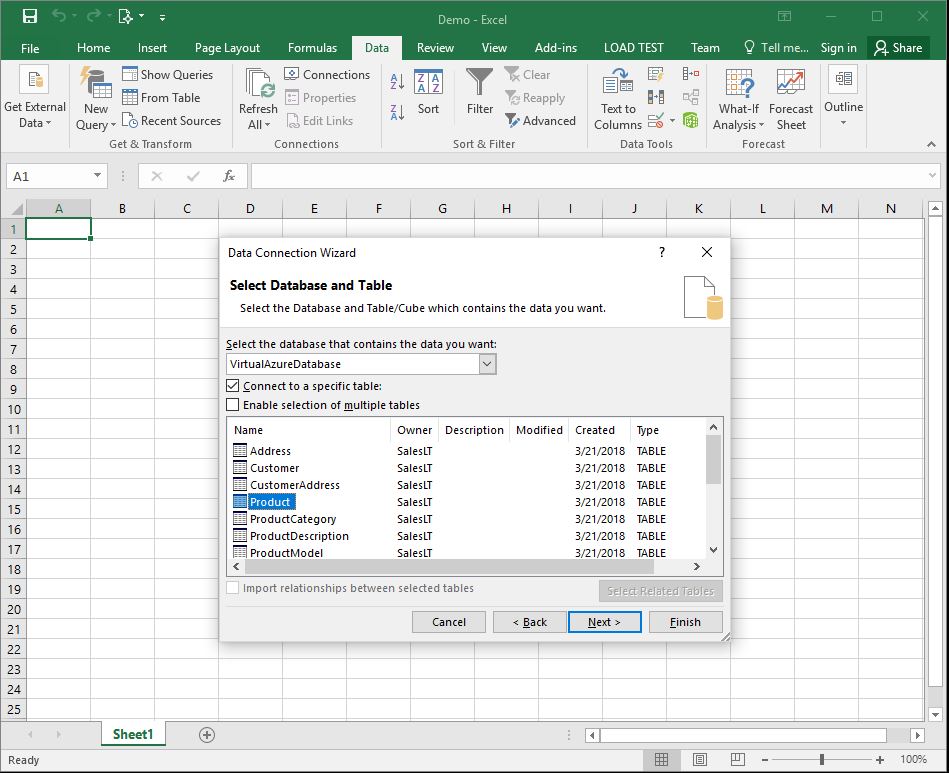
Click "Next."
Step 4: Save data connection
Choose an option to save your data connection.
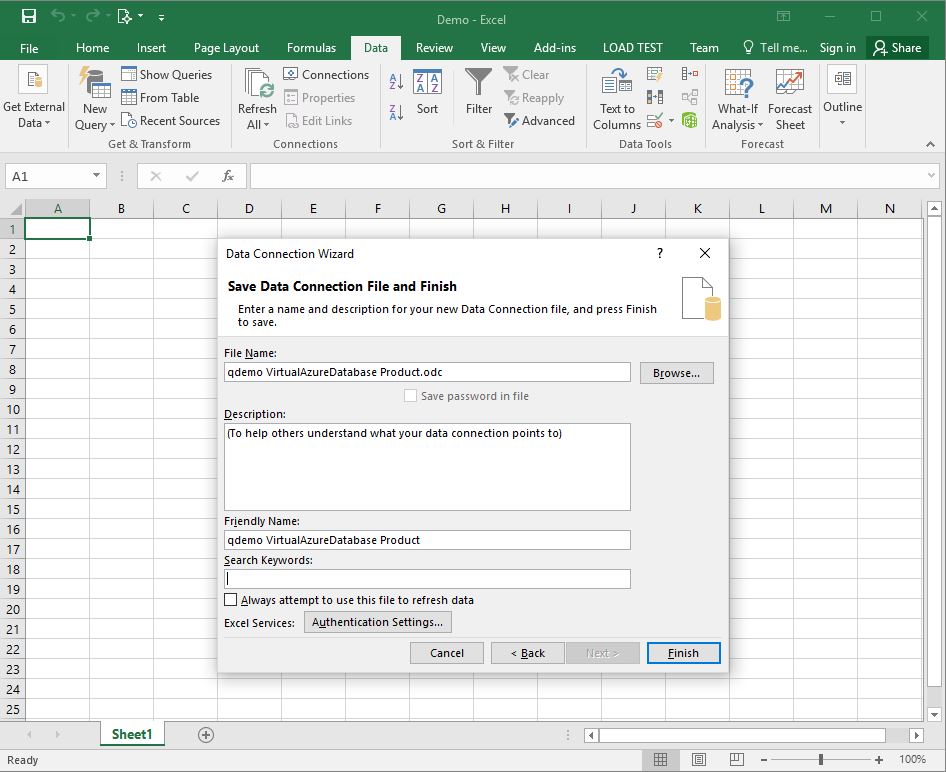
Click "Finish."
Step 5: Choose how you want to use data in your workbook
Choose how you want to use data in your workbook and which worksheet you would like to use as a target for data import:

Click "OK."
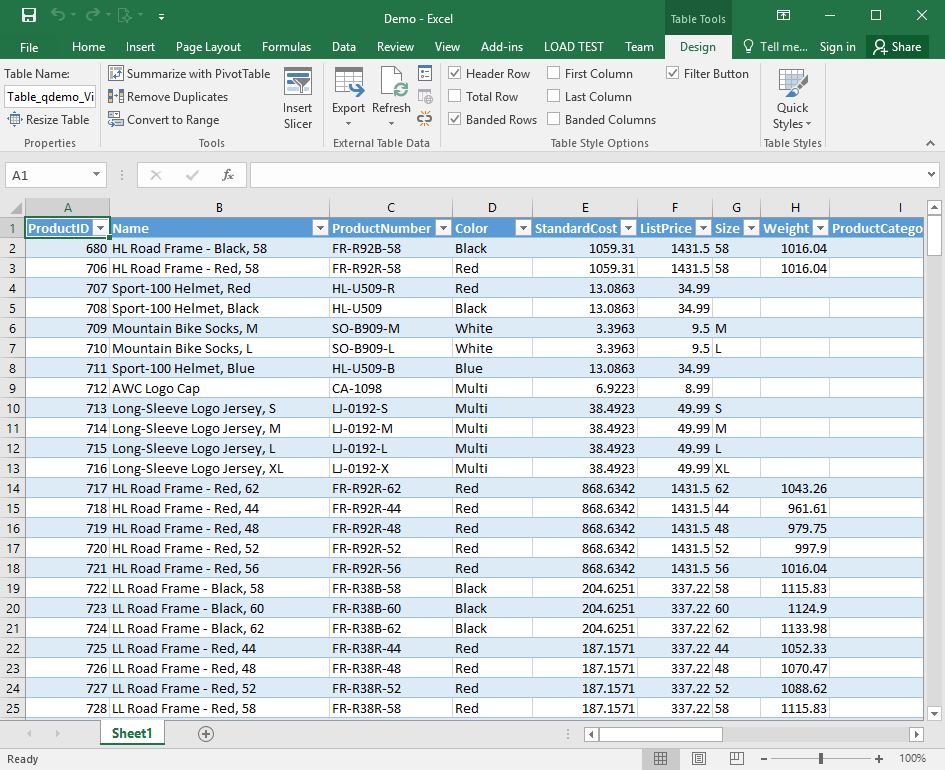
Step 6: Wait for import to finish and start exploring your data
Depending on the amount of data you import it may take a while to copy the required data into your Excel worksheet. When data import completes, you can start exploring your data.
That concludes the steps required to connect and use Excel with Lyftron.