Installation of SQL Server Engine
Lyftron requires a Microsoft SQL Server instance to store metadata information. If you do not have a database server available, you may configure a local SQL Server Express, which is a free, entry-level database server from Microsoft.
The recommended way of database engine installation is an automated process described in this manual. Process automates all installation aspects, speeds it up and minimizes the possibility of errors.
Please consider a fully manual install described here only if an automated process is not sufficient for your requirements.
Prerequisite
Obtain a SQL Server installation package
Navigate to Microsoft SQL Server download page, select your preferred language (English is recommended) and click "Download". English language is recommended and is assumed in this manual.
Run downloaded install package and choose Download Media.

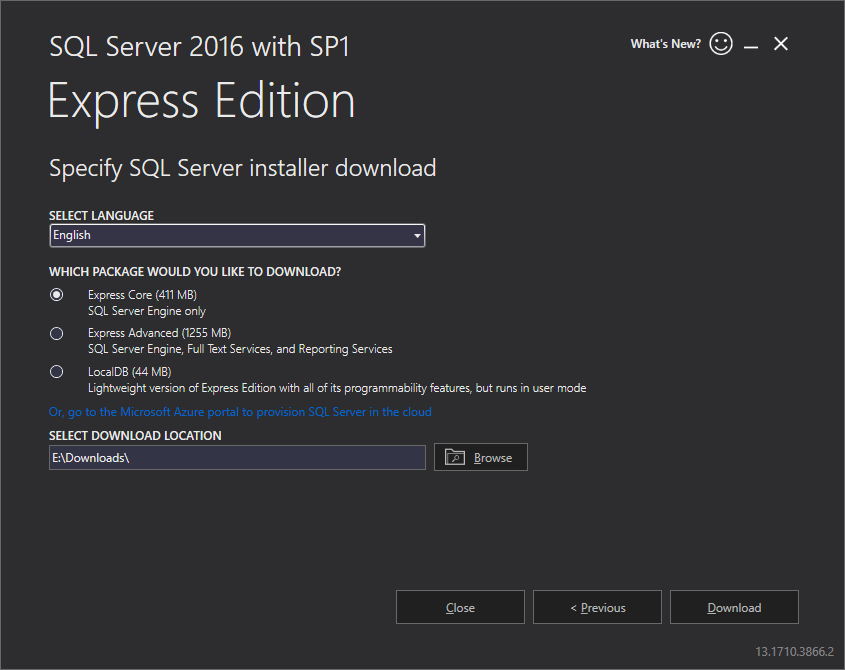
Select English language, choose Express Core and enter download location. Click Download.
Wait for the download to finish successfully.
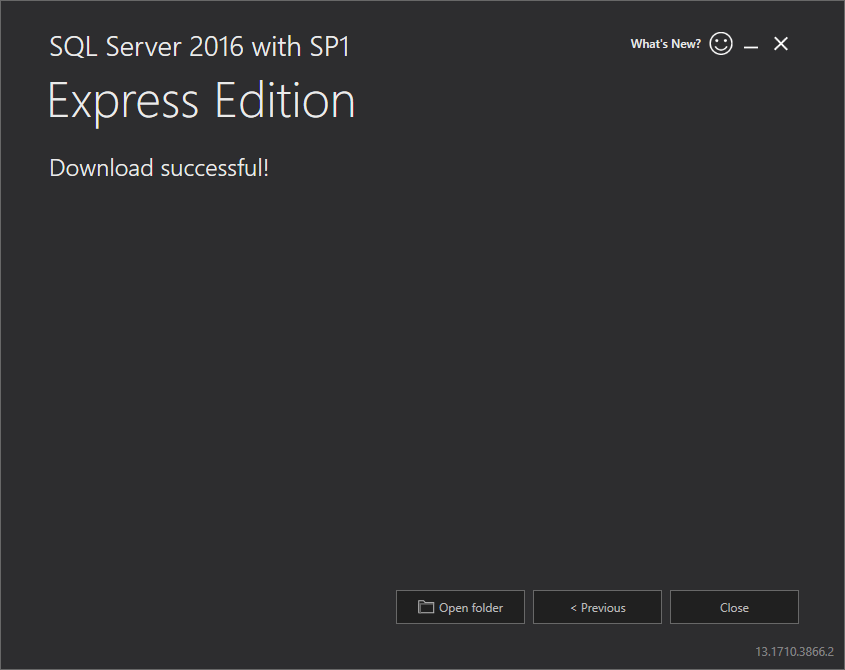
Click Open folder to navigate to the folder that holds downloaded offline installation file named SQLEXPR_x64_ENU.exe and proceed with automated installation described below.
Automated SQL Server engine installation
Step 1. Copy automation script
Copy automation script install-local-sql-express.cmd from Lyftron setup folder into folder holding SQL Server installation file downloaded.
Step 2. Edit default passwords stored in installation script
Open script install-local-sql-express.cmd and change 2 command line parameters holding passwords:
* SAPWD="enter_SA_password"
* SQLSVCPASSWORD="enter_sql_service_password"
> It is not recommended to keep default passwords.
Step 3. Run installation script
Run the script install-local-sql-express.cmd by double-clicking it. Windows console windows will appear.
If prompted for administrative elevation, click Yes.
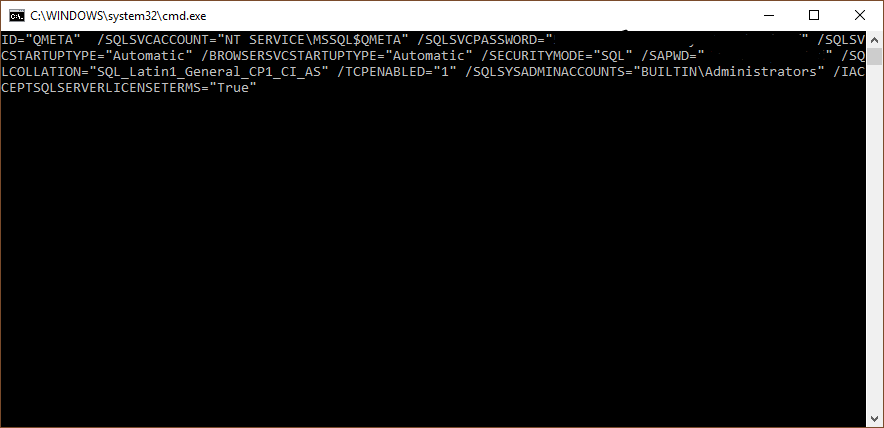
Wait for script and installation to finish.
When finished, SQL installation window and the console window will close automatically.
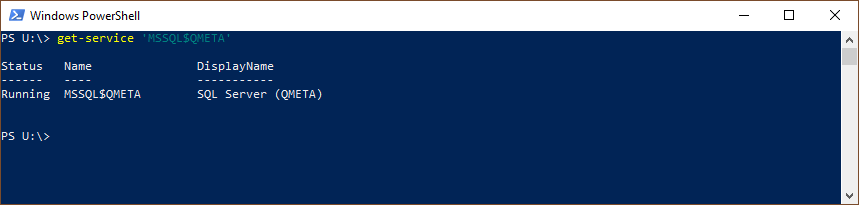
Ensure that installation completed successfully by opening Windows Powershell window and executing the script:
get-service 'MSSQL$QMETA'
The script should return information about SQL Server service running:
Step 4. Open Windows firewall ports
Open PowerShell or command prompt, paste and execute the following script:
netsh advfirewall firewall add rule name="SQLBrowserAPP" dir=in action=allow program="C:\Program Files (x86)\Microsoft SQL Server\90\Shared\sqlbrowser.exe" enable=yes
netsh advfirewall firewall add rule name="SQLServerAPP" dir=in action=allow program="C:\Program Files\Microsoft SQL Server\MSSQL13.QMETA\MSSQL\Binn\sqlservr.exe" enable=yes
The script adds two firewall rules that allow connectivity to your newly installed SQL Server Express.
That concludes automated SQL Server installation procedure. Please proceed with Lyftron server installation.
Manual SQL Server engine installation
Please consider a fully manual installation described here only if an automated process is not sufficient for your requirements OR was not completed successfully. If you have completed automated SQL Server engine installation, do not perform steps described below and continue with Lyftron server installation.
Step 1. Start SQL Server setup
Navigate to the directory you downloaded SQL Server installation to and run SQLServer2016-SSEI-Expr.exe. If prompted to "allow this app to make changes to your device" click Yes.
A welcome screen appears:
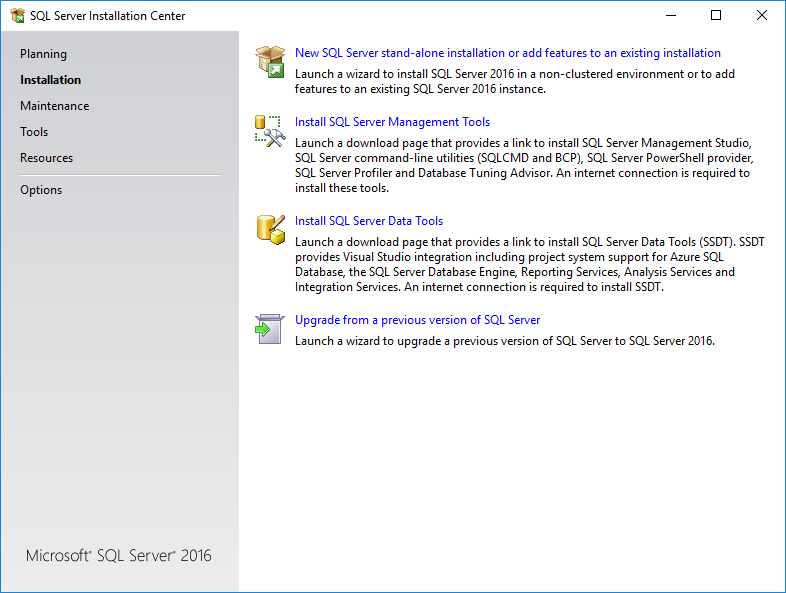
Step 2. Choose installation option and accept the license
Choose a New SQL Server New SQL Server stand-alone installation option. A license terms screen appears:
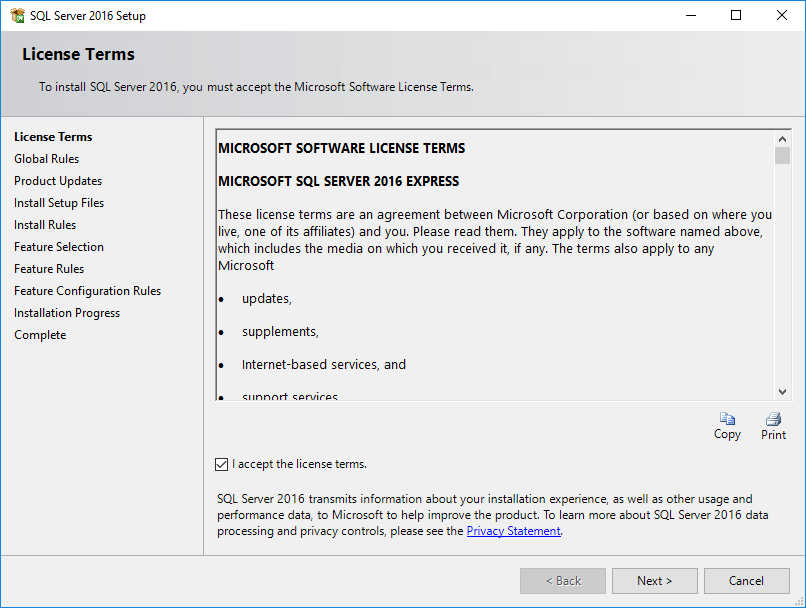
Accept the license and click Next >.
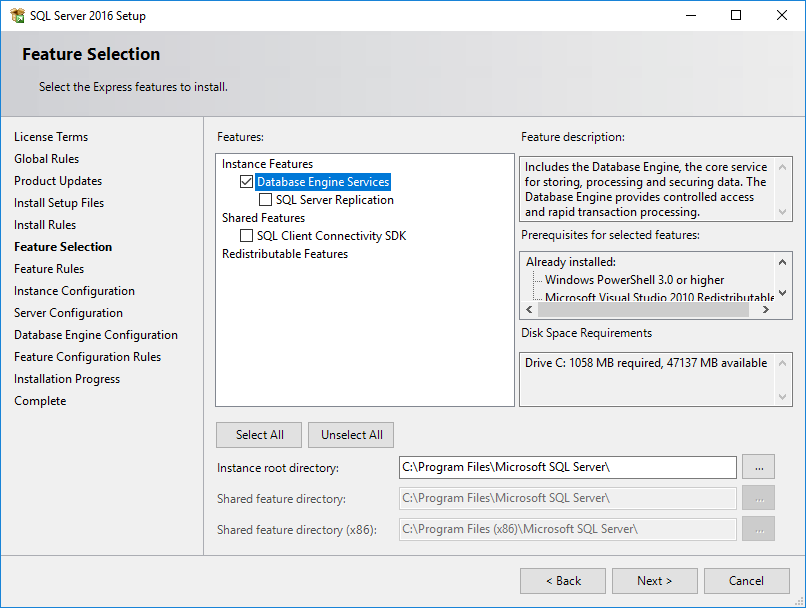
Step 3. Select the components of SQL server to install on your computer
Lyftron requires only Database Engine Services. Ensure that Database Engine Services feature is selected. Accept the instance root directory (recommended) or change the default to a directory of your choosing. Click Next >.
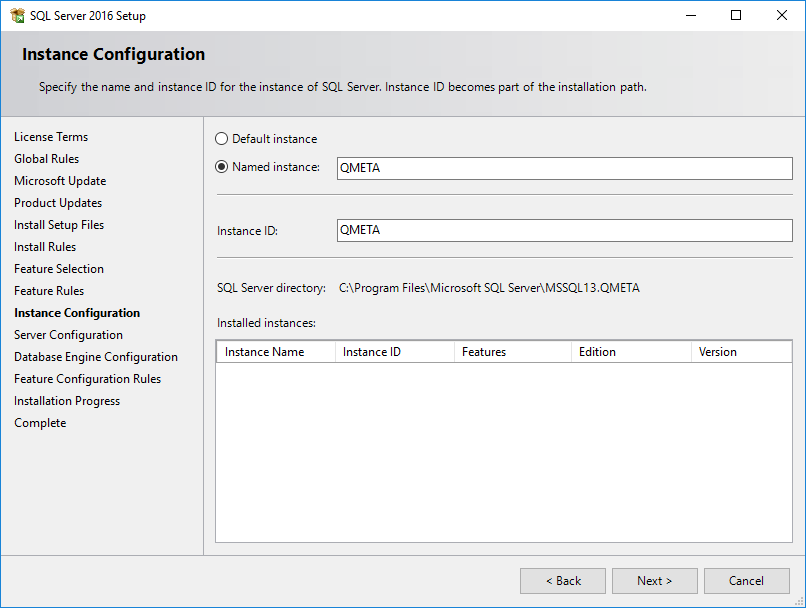
Step 4. Specify name and instance ID for the instance of SQL Server
Select Named instance and enter a recommended value QMETA. If you decide to change the instance name, please write it down - it will be needed later.
Changing default value helps to later recognize the purpose of a database server instance and helps to configure it solely for Lyftron.
Click Next >.
Step 5. Database engine configuration
Set SQL Server Database Engine and SQL Browser services startup type to Automatic.
In the Collation tab, choose SQL_Latin1_General_CP1_CI_AS as default collation.

Click Next >.
Step 6. Database Engine Configuration
Enable Mixed Mode SQL Authentication and enter System Administrator password. Please ensure high password complexity.
The user account used to install Lyftron must have SQL Server Administrator right at the time of Lyftron installation.
Add a BUILTIN\Administrators group to SQL Server administrators and if the current user is not a member of local administrators, click "Add Current User".
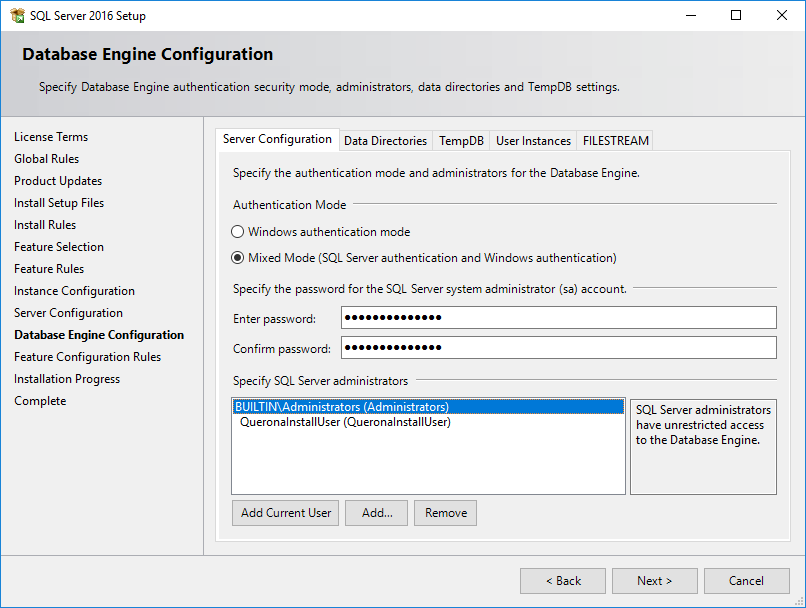
Leave defaults to all other settings and click Next >.
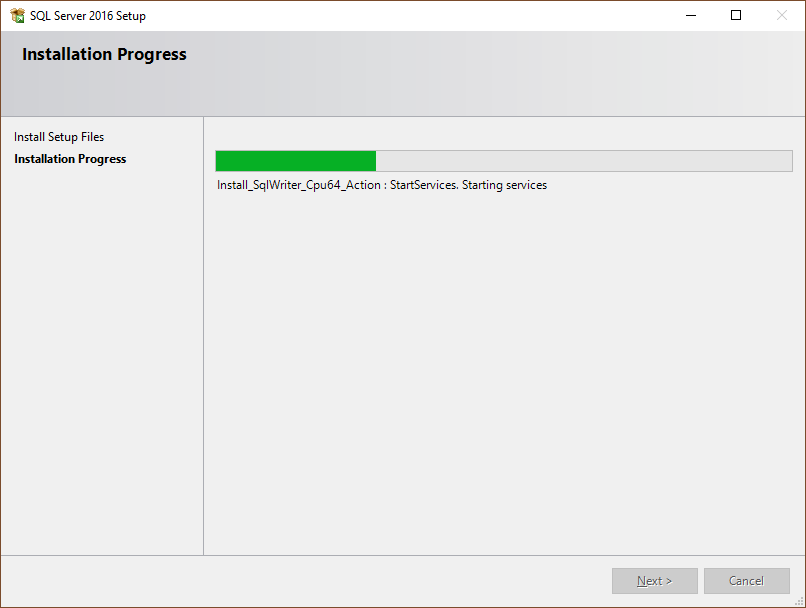
The installation process begins. Wait until it finishes successfully.
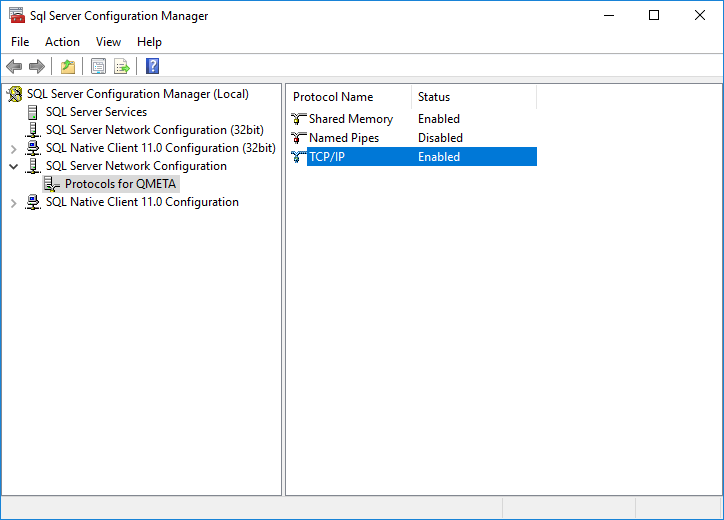
Step 7. Run SQL Server Configuration Manager
After successful installation, run SQL Server Configuration Manager 2016 by going to Windows Start menu and typing "SQL Server Configuration Manager". It should appear as one of the installed applications.
Ensure that SQL Server Browser Service is enabled. Ensure that TCP/IP protocol is enabled for your instance.
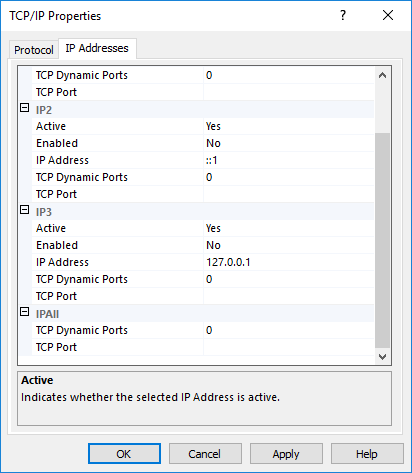
Using TCP/IP Properties ensure that no IP has reserved TCP port (TCP Port value must be empty) and set TCP Dynamic Port to 0. Click Apply and restart SQL service.
Step 8. Open Windows firewall ports
Open PowerShell or command prompt, paste and execute the following script:
netsh advfirewall firewall add rule name="SQLBrowserAPP" dir=in action=allow program="C:\Program Files (x86)\Microsoft SQL Server\90\Shared\sqlbrowser.exe" enable=yes
netsh advfirewall firewall add rule name="SQLServerAPP" dir=in action=allow program="C:\Program Files\Microsoft SQL Server\MSSQL13.QMETA\MSSQL\Binn\sqlservr.exe" enable=yes
The script adds two firewall rules that allow connectivity to your newly installed SQL Server Express.
That concludes manual SQL Server installation procedure. Please proceed with Lyftron server installation.